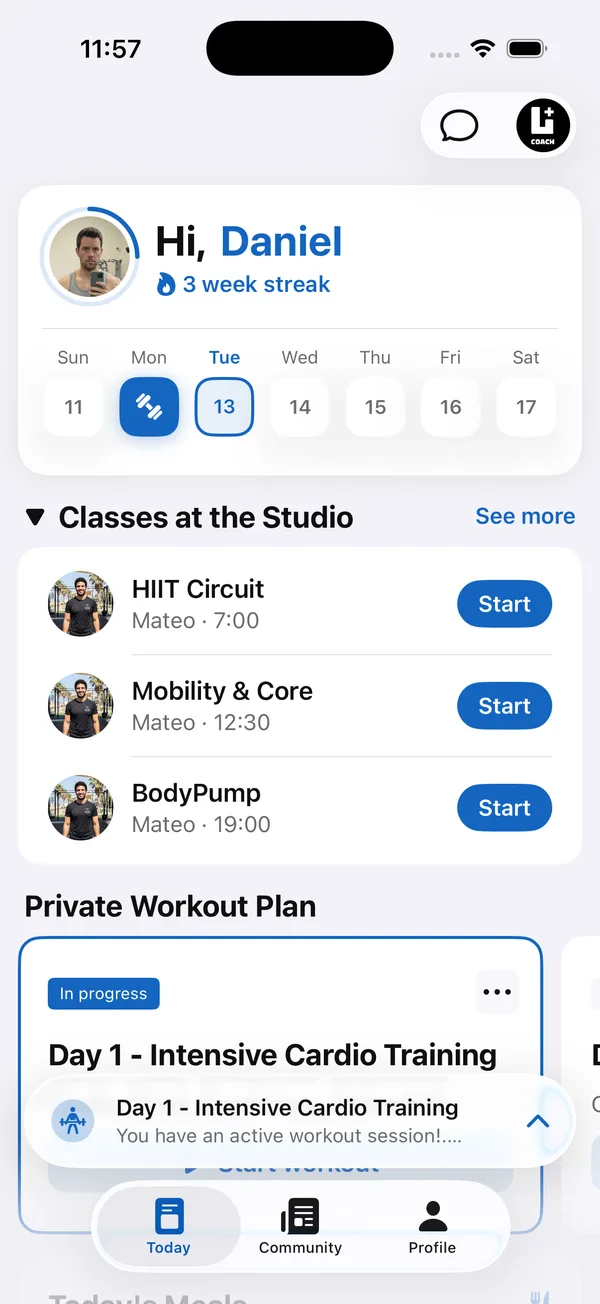
Personal trainer client onboarding decides a lot, because a new client is at their most motivated right after they pay and also at their most likely to have second thoughts. If it takes ten days and fifteen messages before they see a workout, some of that motivation is gone.
This guide gives you a simple onboarding SOP you can run the same way for every new client, whether they train with you online or in person, so they go from “yes” to their first check-in within seven days.
What should a good client onboarding process do?
A good onboarding process gets the client training within days, collects their information once, sets expectations in writing and creates an early win.
- Gets the client training fast. A first workout in the first few days matters more than a perfect program in the second week.
- Collects what you need once. Goals, history, injuries and schedule in one go, so you don’t ask the same question twice.
- Sets expectations in writing. When they check in, how fast you reply and how the program changes. Clear rules prevent most frustration later.
- Creates an early win. A completed first week and a short, specific reply from you make the client feel it was the right decision.
What do you need ready before a new client signs up?
You need four things ready in advance: a welcome message, an intake form, a few starter programs and check-in instructions. Onboarding is only fast if these pieces already exist, so build them once and reuse them for every client:
- 1A welcome messagehow to get the app, what happens this week and when their first check-in is.
- 2An intake formgoal, training history, injuries, weekly schedule, available equipment and food preferences.
- 3Two or three starter programsfor example full body three days a week, or a chest workout, back workout and leg workout split. You adjust them, you don’t write from zero.
- 4Check-in instructionswhich day, which photos (same angles, same lighting) and what to write.
What does a 7-day online coaching onboarding look like?
Day by day: a welcome on day 0, intake and baseline on day 1, a first program on day 2, a first workout on day 3, nutrition on day 4, adjustments on day 5 and a first check-in on day 6 or 7.
- 1Day 0: WelcomeWithin a few hours of the client saying yes, send your welcome message. Ask them to install the app and fill in the intake form today. Tell them exactly when they’ll get their program.
- 2Day 1: Intake and baselineRead the intake and save the important points (injuries, schedule, goals) where you’ll see them later. Ask for baseline photos and weight now, before training starts, so the first comparison is honest.
- 3Day 2: First programStart from one of your starter programs and adjust it for their schedule and equipment. Keep week one conservative. The goal is to finish every session and learn the movements, not to test their limits.
- 4Day 3: First workoutSend a short message on the day of their first session. Afterwards, look at what they logged and reply with one specific comment. It shows them you actually look.
- 5Day 4: NutritionGive them a meal plan or a few clear targets. Start simple: a structure they can follow this week is better than a perfect plan they ignore.
- 6Day 5: AdjustReview the first two or three sessions. Fix loads that were too easy or too hard, swap exercises that didn’t fit and answer any open questions.
- 7Days 6–7: First check-inTheir first check-in closes the onboarding. Reply with what went well, one thing to focus on next week and the date of the next check-in. From here, it’s the normal weekly rhythm.
What are the most common client onboarding mistakes?
The most common mistakes are overloading day one, waiting for a perfect program, leaving the first check-in without a date and running a different process every time.
- Too much on day one. A long PDF, a nutrition guide and three videos at once. Give them what they need this week and nothing more.
- Waiting for the perfect program. Clients who wait a week for a custom plan often lose momentum. Start with a solid base and personalize as you learn.
- No date for the first check-in. Without a fixed date, the first check-in drifts and so does the client.
- A different process every time. If onboarding lives in your head, steps get skipped. Write it down and follow it.
How Coach+ handles the onboarding steps
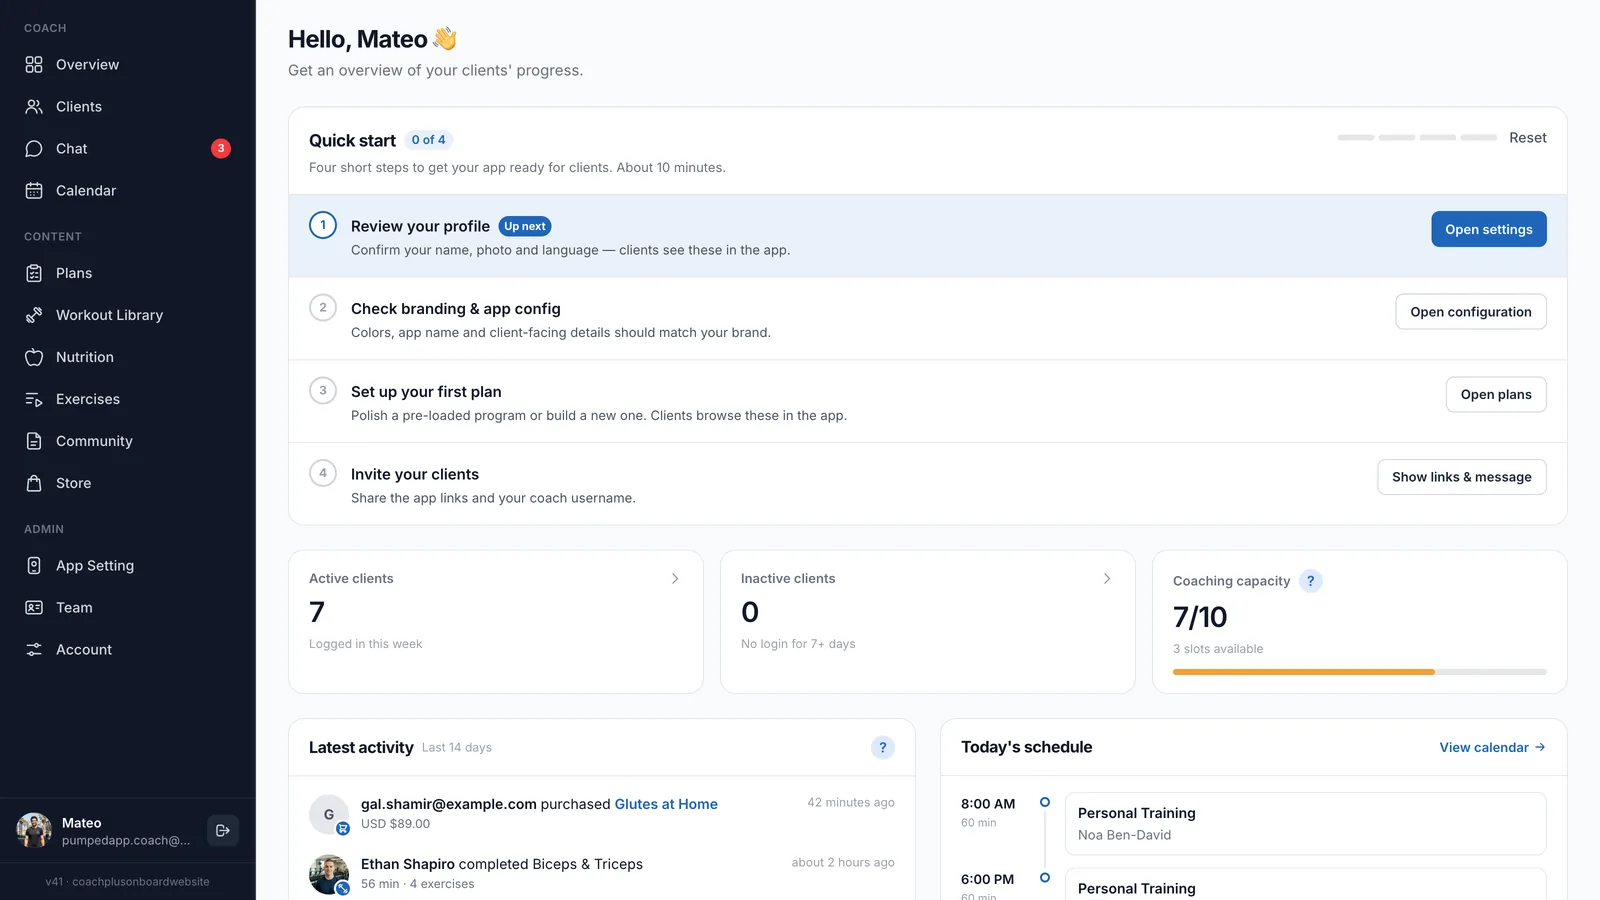
In the Coach+ coaching platform, you work from the coach dashboard and every client gets your own branded app, connected to it, so each step of this SOP happens in one place.
- The Invite client window has a ready-made message with the App Store and Google Play links and your coach username. Copy it or share it straight to WhatsApp.
- Clients enter your username in the app and appear as leads. Click Start coaching and their profile opens, with private notes for injuries and goals.
- Assign a program from the client’s Program tab. They get their own copy, which you can edit for them only, and new accounts come with starter plans.
- Build a meal plan from 12 ready-made templates or from a 500-food database, with an AI assistant that suggests foods for a meal.
- Check-in photos and weight show up on the client’s Check-in tab, and the Message button opens your chat with them to reply.